When painting your interior or exterior surfaces many factors need to be taken into consideration. A beautiful color may end up looking faint or unsmooth due to the lack of preparation of the surfaces prior to painting.
The paint needs to be high quality for best results and even this being so, careful application of the paint needs to be accomplished for a perfect end result.
Small holes, hairline cracks, and uneven areas should be filled and allowed to dry, using a good quality filler such as Polfilla, or another recognized brand.
The filler is applied using a filling scraper. The process is simple. The chemical makeup of the fillers is usually water-based, so mixing the correct consistency of the filler before application is quick. In addition to water-based filler, there are also special water-resistant fillers for use in bathrooms and kitchens where water-repellant properties of the filler are required.
The filler when applied, starts to shrink when it dries so it is important to leave it protruding over the wall’s surface, then lightly sand it so it is flush and flat to the wall surface, when the filler is completely dry, sand it again with fine sandpaper.
Ensure the surfaces to be painted are also free from defects, old peeling paint, cracked plaster, hairline cracks and other surface deterioration. Once all surfaces are repaired and completely dry and dust free you may begin your painting process.
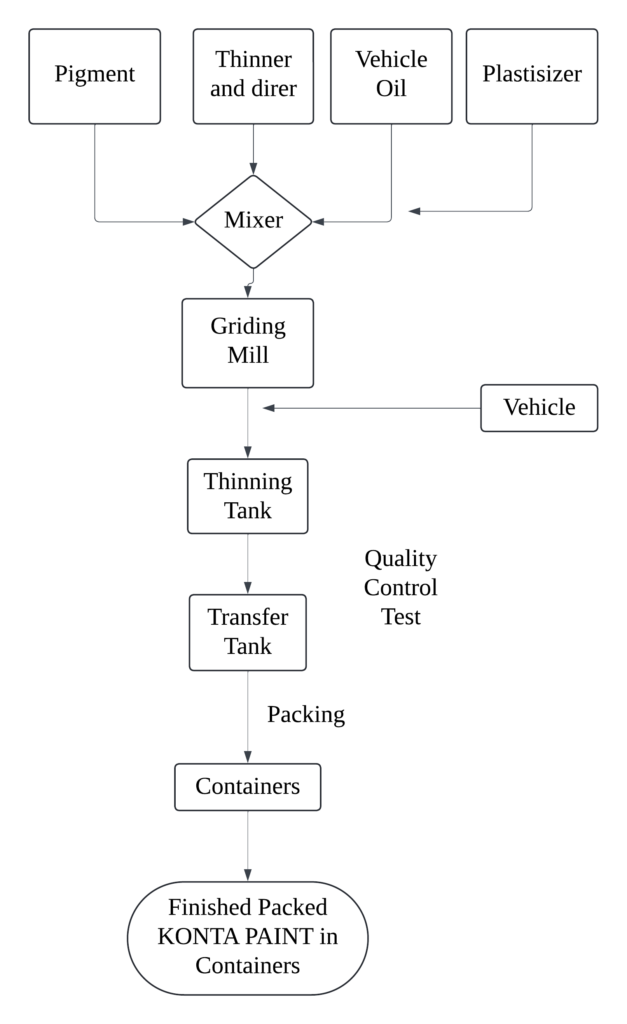
FLOW DIAGRAM OF KONTA PAINT MANUFACTURE

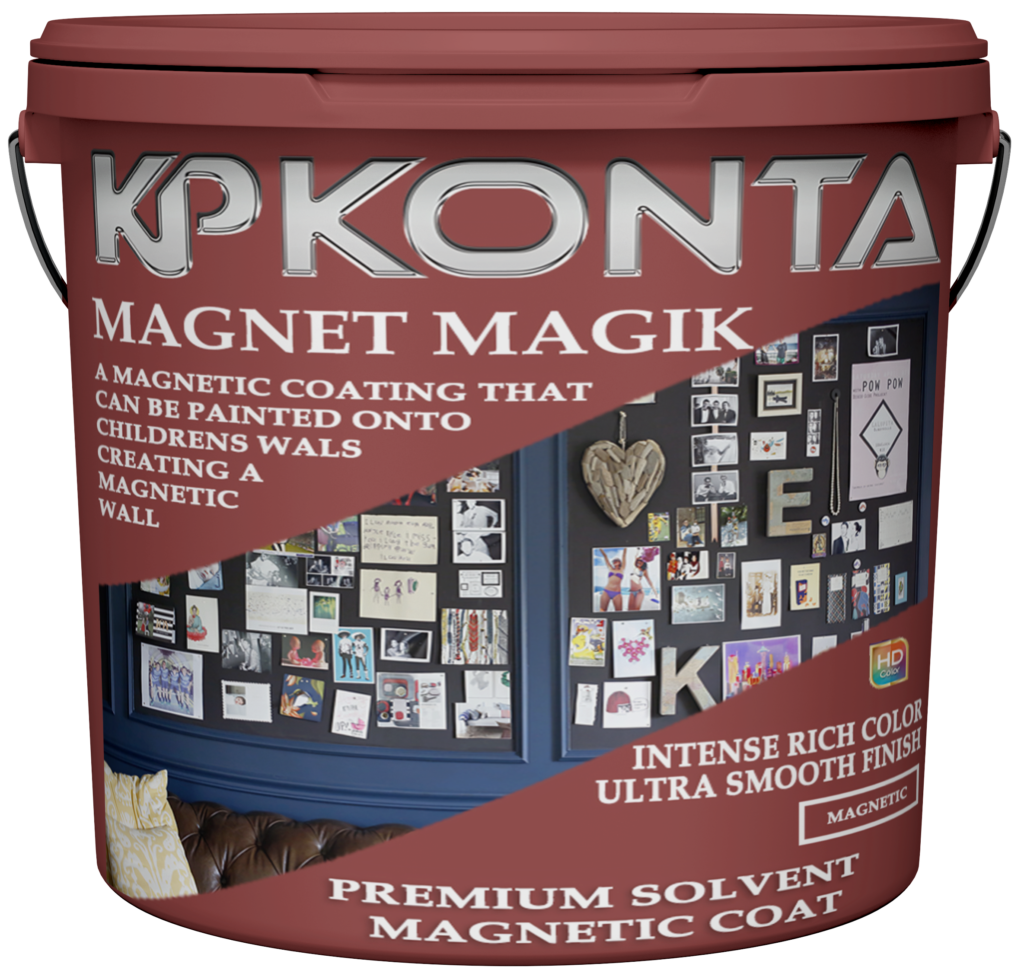
Characteristics Of An Ideal Paint
The requirements are uniform spread as a thin film, high coverage, good workability and durability, sufficient elasticity to remain unaffected by expansion or contraction of the surface to be painted or by weathering action of atmosphere. The paints should also be: impervious to air and water, cheap and economical to form a hard surface.
Preparation Of Paint
The base is ground in a vehicle to the consistency of paste in a stone pestle known as muller. Linseed oil, is intermittently added to the paste in small quantities and the mixture is stirred with a wooden puddle. In case of coloured paints, the pigment is mixed with linseed oil separately and the paste is formed as explained above. Driers are also ground separately in linseed oil. The three pastes so prepared are mixed and a little linseed oil is added further to soften the paste. The mixture is continuously stirred till a consistency of cream is obtained. The mixture is thereafter strained through fine canvas or a sieve. The paint is now ready for use. The paint so prepared can be used by adding oil or a thinner to make it of workable consistency before application.
For commercial manufacturing of paints a four-storey building is used to have gravitational flow of materials. Pigments, oil, thinner, plasticizer, drier, etc. are stored on the fourth floor and are fed by means of chutes in proper proportions, to the grinding mill placed on the third floor and are ground. The thoroughly ground materials are then sent to storage tanks on the second floor. The charge in the tanks is kept in motion by agitation mechanism so that settling of materials does not take place. An additional quantity of vehicle is added here to get the desired composition. The batch is then tested for quality control. The paint material is then strained and sent to first floor, where it is packed in containers. Finally the packed material in containers is sent to the ground floor. A flow diagram of paint manufacture is shown in Fig.
The factors affecting the quality of paint so prepared are quality of ingredients, grinding, intimate mixing and proportioning, straining, packing, etc. Ready mixed paints are also available in the market with KONTA PAINT trade.
Prepare interior surfaces
Follow 5 easy steps to get you started.
- Prepare
- Filling and sanding for a smooth surface
- Cleaning
- Masking the area
- Undercoats and priming

Preparing before painting is key to achieving a great interior finish.
Nothing beats a great paint job, especially one you’ve done yourself. Give yourself the best chance at success by following these instructions.
Use filler to make the surface smooth
Choose a filler designed for the surface you’re painting.
Make sure the area is clean and scrape away any loose paint or plaster.
If the edges of the hole are cracked, unstable, or if the hole is too large, a self-adhesive patch will make the job easier.
Apply a layer of filler over the area ensuring to completely cover any holes, cracks or patches.
Spread the filler across the area in multiple directions and once the area is covered use a single downward stroke to remove any excess product.
Once dry use a fine sandpaper to give it a light sand for a smooth, consistent surface.
QUICK TIP: A quick wipe with a damp sponge before the filler sets will smooth out small ridges and save on sanding time later.
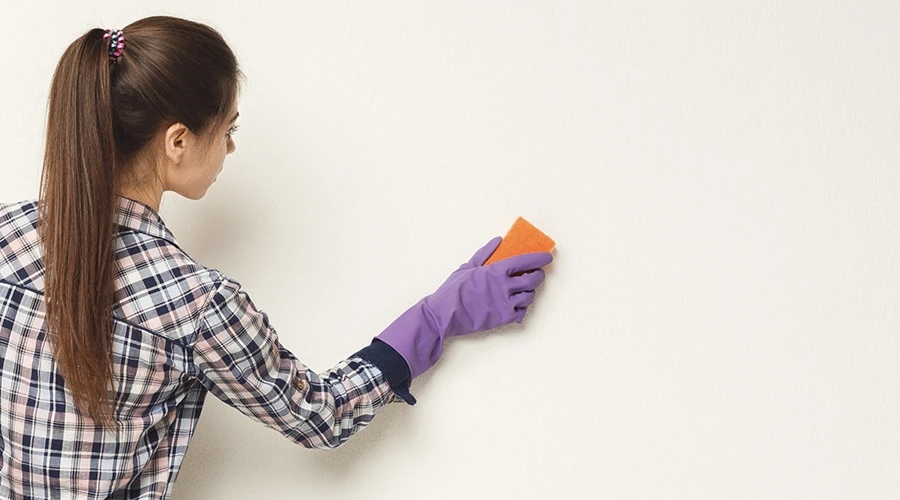
Cleaning
For a smooth paint finish, you need to start with a smooth surface
Before painting, clear the space. Take down any curtains, mirrors and pictures, move furniture out of the room and cover larger items with drop cloths. Remove any fixtures and fittings you can before painting and tape plastic around anything you can’t remove.
Brush or vacuum up any dust and thoroughly wash the walls to remove grease and dirt. This provides a clean surface that ensures the best possible performance from your paint.
If the surface is in good condition, it can be painted after any filling or cleaning steps. Glossy surfaces may need to be sanded to a dull finish with a medium grit sandpaper. There’s no need to sand back to bare timber, just enough to rough-up the surface so the next coat of paint will have something to grab onto. Be sure to remove dust generated after sanding.
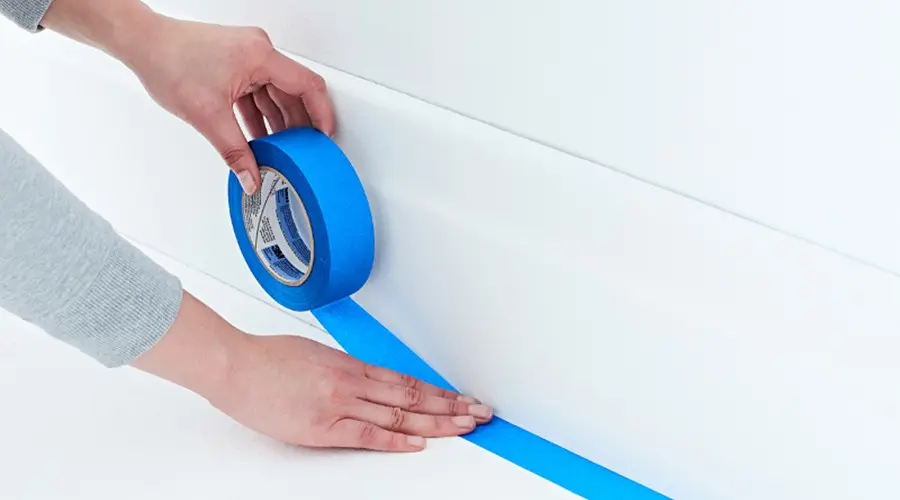
Masking the area
Masking before you paint makes the job faster and cleaner.
Use a good quality masking tape along any edges you don’t want to paint, including trims or windows.
Push the edges of the tape down firmly to ensure straight edges.
Remove the masking tape at a 45° angle before the paint dries completely. If the paint is too dry, the masking tape can rip the paint film when it is removed.
If the paint dries before the tape is removed, using a sharp blade, score the edge of the tape before removing so that it doesn’t pull paint away from the wall.
Undercoats and priming
If you are covering a dark colour or a surface that’s never been primed or painted, you will need to use an undercoat. It can also provide a better coverage and hiding power than just applying extra top coats.
